
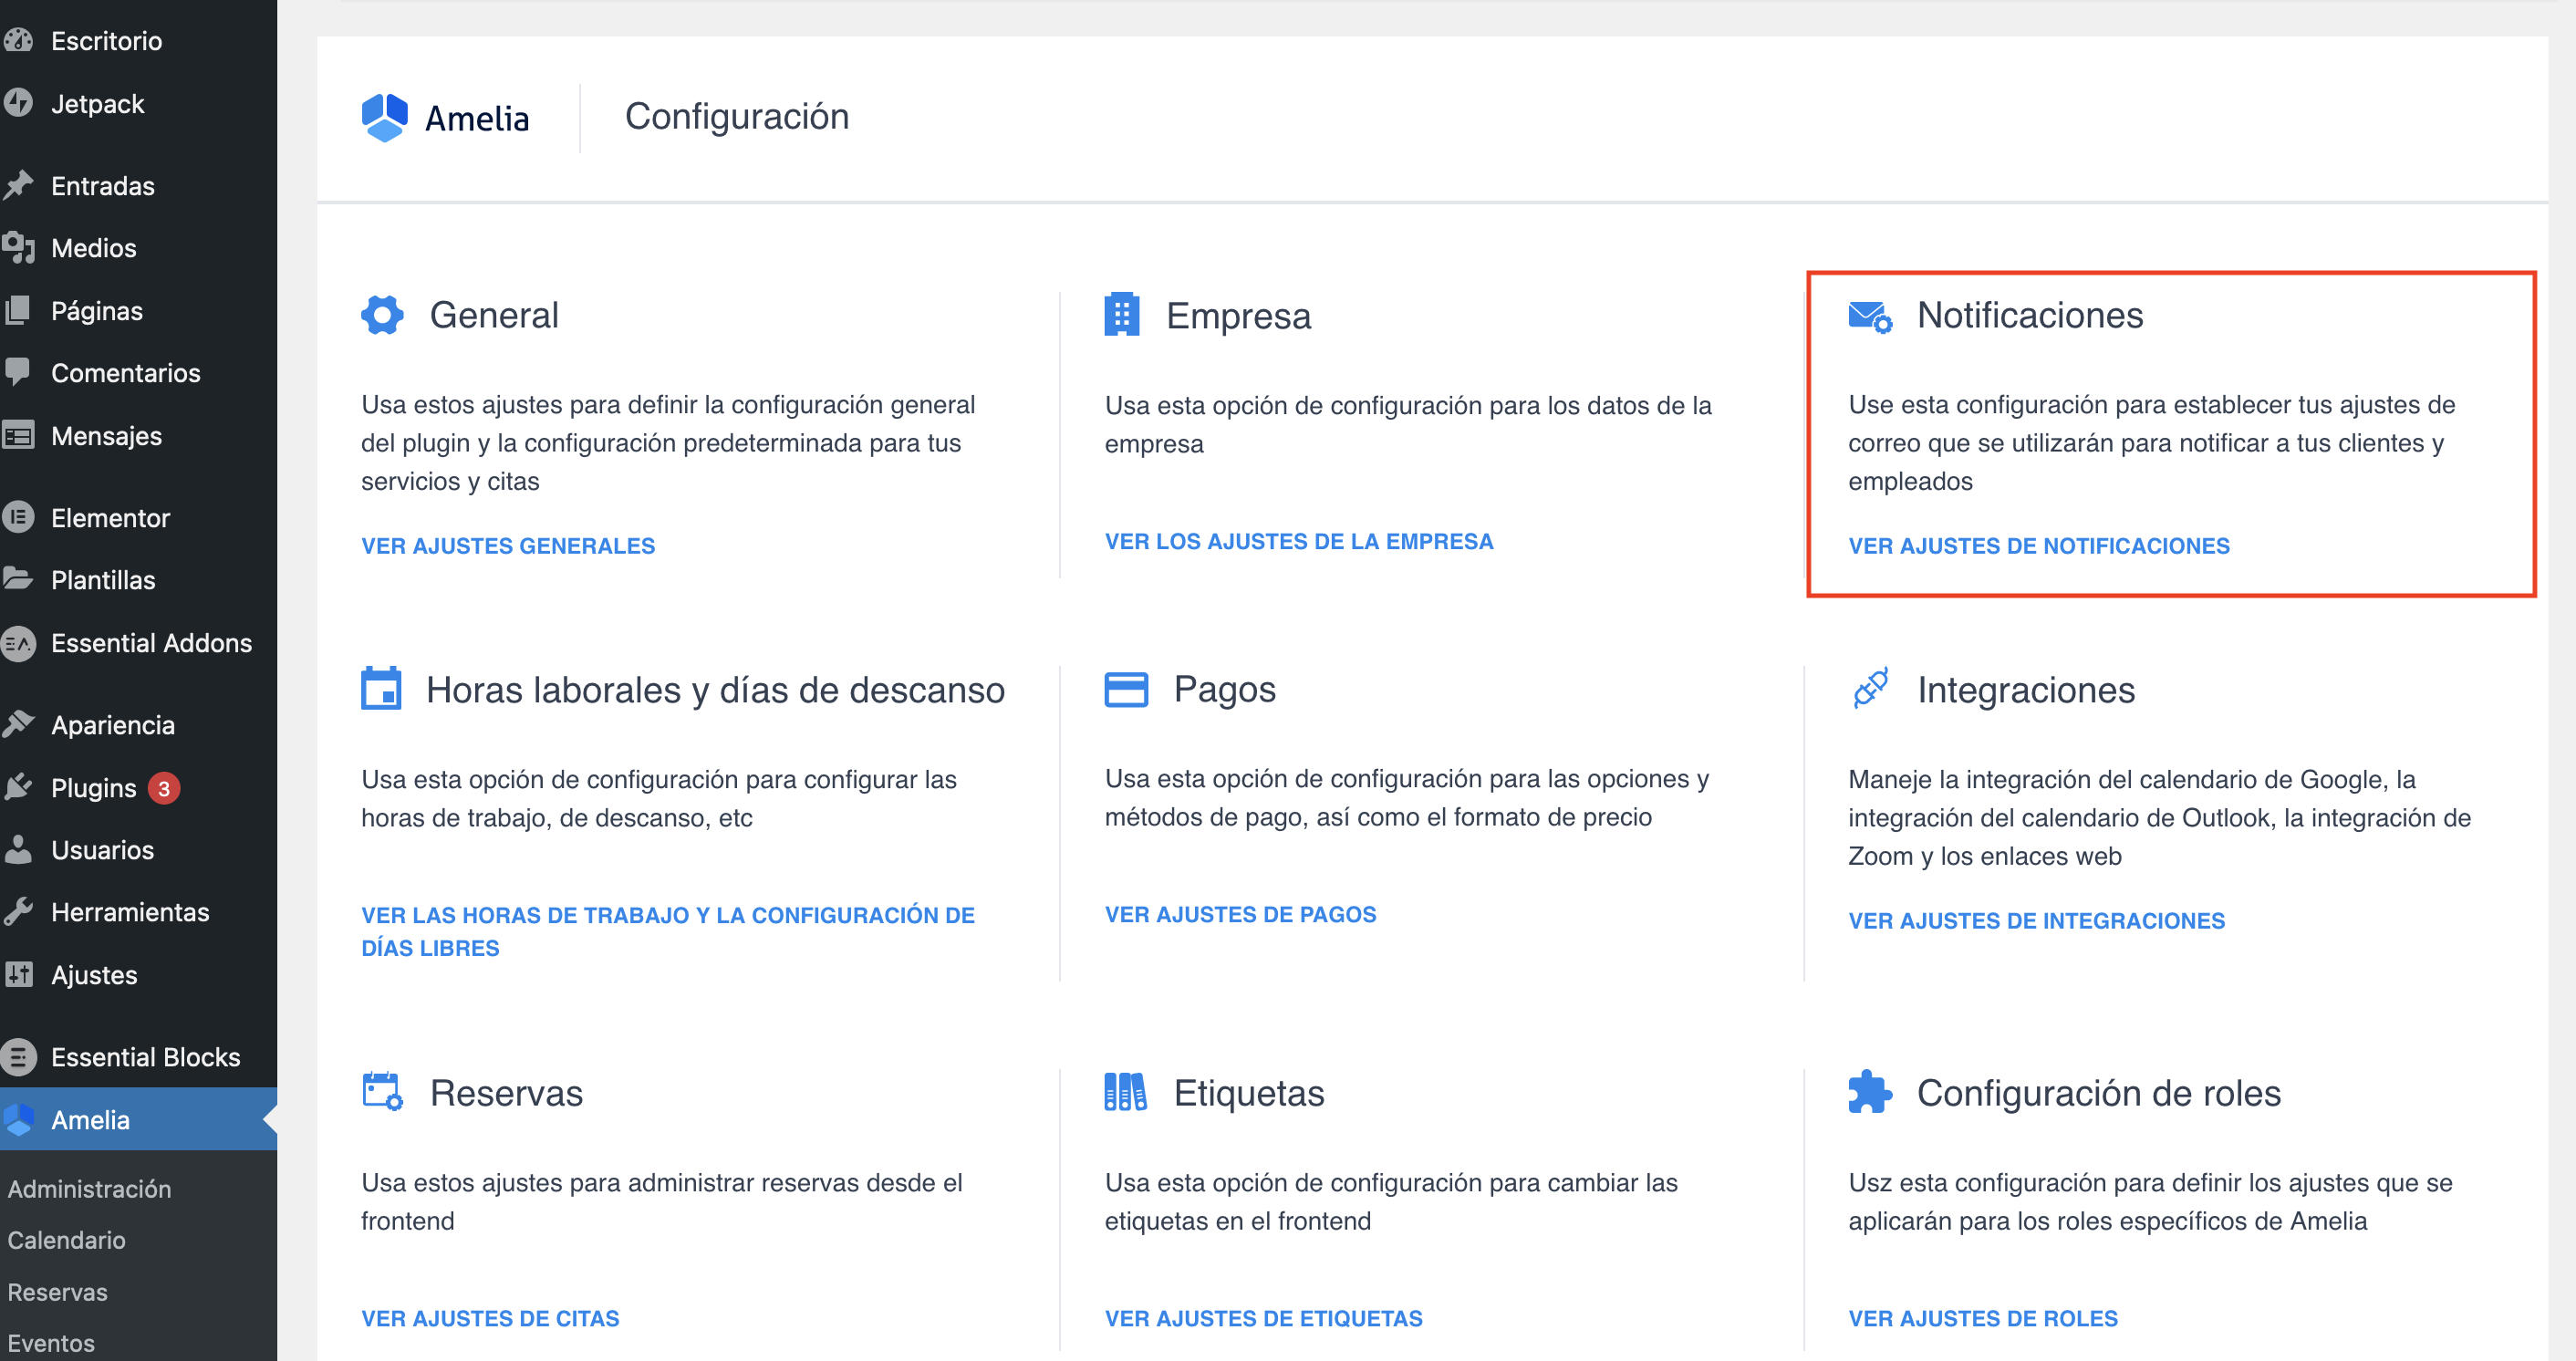
Utilice esta configuración de correo para notificar a sus clientes y empleados.
Mail Service #
Three different mail services can be used to send email notifications to your customers and employees:
- PHP Mail (not recommended) – This option is selected by default for users that do not want to configure other mail services.
![]()
Please note: We strongly recommend changing mail service setting to SMTP or Mailgun because email that is sent with PHP Mail generally gets flagged as spam by mail servers and also can take some time to send. See below how to configure SMTP and Mailgun mail services.
- WP Mail – This option uses the WP mail WordPress function for sending emails, and it is best to use it if you use some third-party plugin for sending emails.
- SMTP (Simple Mail Transfer Protocol) – In this article, we show how to configure the SMTP mail service for Gmail, but you can set it up for any other outgoing service that supports SMTP for a mail client. When you select this option, four inputs will appear – you need to populate them to configure SMTP properly. A Google SMTP example:
- SMTP Host – smtp.gmail.com
- SMTP Port – 587
- SMTP Secure – TLS
- SMTP Username – Your Gmail address
- SMTP Password – Your App password (details about setting up an app password can be found in the yellow notice section below)
Google SMTP (Gmail accounts):
From 30 May 2022, Google will no longer support the use of third-party apps or devices which ask you to sign in to your Google Account using only your username and password, so “Allow less secure apps” will be removed.
In order to continue using SMTP with Gmail, you will need to set up an App Password for Amelia. App Passwords can only be used with accounts that have 2-Step Verification turned on. Instructions about this can be found on Google’s Documentation, here.
For detailed set-up instructions, please take a look at this article on our official support platform.
Microsoft SMTP (outlook, hotmail, live, and office365 email accounts):
If you’re having issues using SMTP with your Microsoft account, please make sure to set up an App Password for Amelia. App Passwords can only be used with accounts that have 2-Step Verification turned on in the Security Basics section of your Microsoft account. Instructions about this can be found on Microsoft’s Documentation, here.
For detailed set-up instructions, please take a look at this article on our official support platform.
- Mailgun – Powerful APIs that enable you to send, receive, and track emails effortlessly.
To set up Mailgun, you need to populate the Mailgun API Key and Mailgun Domain input fields that appear when selecting Mailgun as your mail service.
DEFAULT: PHP MAIL
![]()
Please note: If you are from one of the countries that are in the EU you will need to set an Endpoint for Mailgun in order to be able to use it:
https://api.eu.mailgun.net/

Sender Name #
This option’s value will be used as the sender name string in all email notifications that will be sent to your customers and employees.
Sender Email #
This option’s value will be used as the sender’s email address in all email notifications that will be sent to your customers and employees.
Notify the customer(s) by default #
This setting allows you to choose whether the “Notify the customer(s)” checkbox in the appointment modal will be enabled or disabled by default. If you disable this option, you will still be able to notify the customers by checking the “Notify the customer(s)” checkbox in the edit appointment modal in the admin area.
DEFAULT: ENABLED
Successful Cancellation Redirect URL #
This is where you enter the URL your customers will be redirected to if they successfully cancel the appointment by clicking the cancel URL in the email notification.
Unsuccessful Cancellation Redirect URL #
This is where you enter the URL your customers will be redirected to if they unsuccessfully cancel the appointment by clicking the cancel URL in the email notification.
Send all notifications to additional addresses #
This option allows you to set multiple additional addresses that will receive all notifications that you have enabled on the Notifications page. If, for example, you want the admin and/or manager to receive all emails about appointments, just write their email addresses here and all email notifications that will be sent to employees and customers will be sent to these email addresses as well. Once you fill in the first address press enter and the first address will be saved so you can add then the second one press enter, etc.
Send all SMS messages to additional numbers #
This option allows you to set multiple additional phone numbers that will receive all SMS notifications that you have enabled on the Notifications page. Once you fill in the first number press enter and it will be saved so you can add then the second one press enter, etc. Please note that you need to add the whole phone number, with the country code, in order for it to be saved.
Scheduled Notifications (cron) #
cron is a Linux utility that schedules a command or a script on your server to run automatically at a specified time and date. A cron job is a scheduled task itself. Cron jobs can be very useful to automate repetitive tasks like sending scheduled notifications in Amelia.
Depending on the server, there are different configurations for it, which you can contact your hosting provider about, or you can check out one of the solutions for it on this link.
Also, you can try this:
*/15 * * * * wget -q -O – “https://www.yourwebsite.com/wp-admin/admin-ajax.php?action=wpamelia_api&call=/notifications/scheduled/send”
This:
*/15 * * * * /usr/local/bin/php ~/public_html/wp-cron.php –action=’wpamelia_api’ –call=’/notifications/scheduled/send’
Or this:
GET ‘https://yourdomain.com/wp-admin/admin-ajax.php?action=wpamelia_api&call=/notifications/scheduled/send’ > /dev/null
WP Crontrol plugin is the best option if you’re not familiar with cron jobs. If you decide to use WP Crontrol, please follow the instructions below.
You copy only the URL from below a scheduled notification:

Then, in Crontrol go to “Cron Schedules”, and scroll all the way down. Add a 15 minute interval:

Then go to “Add PHP Cron Event” and add the URL you’ve copied like this:

So:
file_get_contents(“your_URL”);
Below it add the name and set it to run a few minutes in the future, using the provided time format. So, if you’re adding the cron event at 12:45, set it to run at 12:50; and then select the schedule you previously selected:

Click on Add Event, and that’s it.
The cron runs every 15 minutes and checks if there’s an email to be sent. So, in Amelia Notifications, your scheduled notifications are set to run every day at a certain time. If you set that time to be 15:00 (for example), the emails will be sent when the cron runs after that time.
For example, there’s an appointment booked for tomorrow, and it’s currently 14:44 – the cron runs, but since it’s not yet 15:00, it doesn’t send anything. It runs again after 15 minutes, so at 14:59, but there are still no emails flagged by Amelia, so it doesn’t send anything. Then it runs again at 15:14 and it sees there’s an email that should’ve been sent at 15:00, so it sends the email. It will only send emails when Amelia sees an appointment scheduled for the next day.


